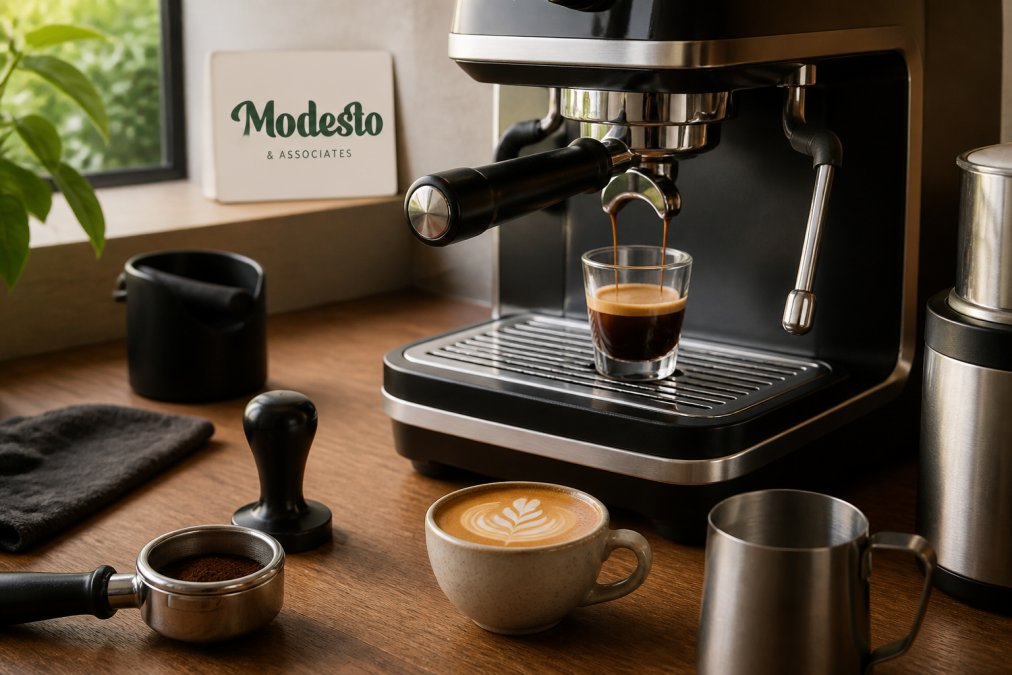
 ultimate-guide
How to Pull Café Quality Espresso at Home
Table of Contents
- What You'll Need Before You Start
- How to Dial In Espresso: The Core Workflow
- Espresso Extraction Ratio: Grams In, Grams Out
- How to Froth Milk Like a Barista
- Tasting Your Way to Café Quality Espresso
- Advanced Puck Prep and Basket Precision
- Common Mistakes to Avoid
- Frequently Asked Questions
Last Updated: September 14, 2026
What You'll Need Before You Start
Learning how to pull café quality espresso at home starts with a short list of gear, not a long one. A capable machine and a decent grinder matter far more than a counter full of gadgets.
Here's the core kit:
- Espresso machine with a 58 mm or 54 mm portafilter and stable temperature control
- Burr grinder (flat or conical), because blade grinders produce inconsistent particles
- Digital scale accurate to 0.1 g, for dosing and yield
- Freshly roasted coffee, ideally within 2-4 weeks of the roast date
- Tamper sized to your basket, plus a distribution tool if you have one
- Milk pitcher and a thermometer if you're steaming
- Cleaning supplies: backflush detergent, a group brush, and a microfiber cloth
How to Dial In Espresso: The Core Workflow
Dialing in espresso means adjusting grind size, dose, and yield until the shot tastes balanced rather than sour or bitter. It usually takes 3-6 shots to land on a recipe, then you write it down and repeat it.
The workflow itself is simple:
- Set your dose (start at 18 g for a double basket)
- Grind, distribute, and tamp
- Pull the shot and time it
- Weigh the yield and taste
- Adjust ONE variable and repeat
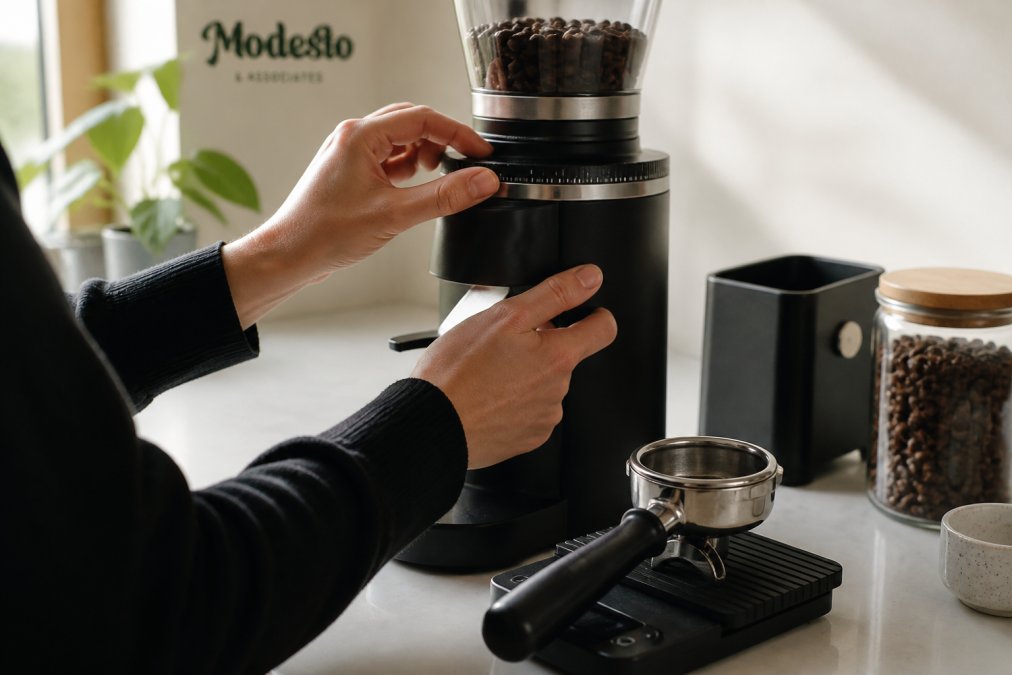
The Order of Operations (and Why It Matters)
Most guides say "adjust one variable at a time" and stop there. The useful part is knowing which variable, in what order. Here's the sequence experienced home baristas use:
- Lock the dose. Pick a dose that fits your basket without touching the shower screen, commonly 18 g in a standard 18 g double, or 20 g in a 20 g basket. Don't change it again during a session.
- Set the yield. Choose a target ratio (1:2 is the default starting point). Weigh output on a scale, not by eye.
- Tune grind to hit the time window. Grind is the only variable that reliably moves shot time. If the shot runs fast, grind finer; if it chokes, grind coarser. Change in small increments, one or two micro-steps on a stepless grinder, or one click on a stepped one.
- Taste, then adjust ratio, not grind, for flavor. If the shot is in the time window but tastes sour, a slightly longer yield (1:2.2 or 1:2.5) often fixes it without re-dialing grind. If it tastes bitter or drying, shorten the yield.
- Only revisit dose if you've exhausted grind and ratio. Dose changes cascade through everything else, so it's the last lever, not the first.
The reason this order works: grind and dose both change flow resistance, but grind changes it without changing the coffee-to-water ratio, so you can isolate the extraction variable. Dose changes both at once, the messiest knob to turn.
A Concrete Dial-In Example
Say you're pulling 18 g in and getting 36 g out in 20 seconds, and the shot tastes sour and thin.
- 20 seconds is fast for a 1:2, the puck is offering too little resistance, so water is racing through and under-extracting.
- Grind finer by one or two micro-steps. Re-pull. Suppose you now hit 28 seconds and 36 g out.
- Taste again. If it's balanced, you're done, write down the grind setting, dose, yield, and time.
- If it's still sour at 28 seconds, extend the yield to 40 g (roughly 1:2.2) and taste. If it's now bitter, you overshot, split the difference at 38 g.
Three or four pulls like this, changing one thing each time, will land you on a repeatable recipe. The mistake is changing grind, dose, and ratio between shots and not knowing which change did what.
Grind Size and Distribution
Grind size is the single biggest lever you control. Finer grinds slow the flow and increase extraction; coarser grinds speed it up. If your shot runs in 15 seconds, grind finer; if it chokes, grind coarser.
Distribution matters just as much. Clumps and uneven density cause channeling, where water finds a path of least resistance and leaves part of the puck under-extracted. Break up clumps with a WDT tool or a few gentle stirs before tamping.
Tamping and Puck Integrity
Tamping is about leveling, not force. Press straight down until the puck is flat and firm, then stop. Ten to fifteen pounds is plenty; more just stresses your wrist.
Puck integrity keeps water flowing evenly through the coffee bed. A level, evenly distributed puck extracts predictably; a tilted or fractured one doesn't. If shots suddenly taste thin or gushy, check your puck prep before touching the grind setting.
Espresso Extraction Ratio: Grams In, Grams Out
The espresso extraction ratio is the relationship between coffee in and liquid out, in grams. The common starting point is 1:2, 18 g in produces roughly 36 g out. Ratios between 1:1.5 and 1:2.5 cover most styles, from ristretto to lungo.
Here's how the ratio shifts the cup:
| Ratio | Dose In | Yield Out | Typical Character |
|---|---|---|---|
| 1:1.5 | 18 g | 27 g | Dense, syrupy, intense |
| 1:2 | 18 g | 36 g | Balanced, standard |
| 1:2.5 | 18 g | 45 g | Lighter, brighter, more acidic |
Weigh your output on a scale, not by eye, crema adds height in a shot glass that isn't liquid.
Shot Time, Flow Rate, and Pre-Infusion
Shot time runs from pump start to when you stop the shot, typically 25-32 seconds for a 1:2 ratio (Defining the Ever-Changing Espresso - 25 Magazine: Issue 3). Flow rate is yield divided by time; a 36 g shot in 30 seconds runs at 1.2 g per second, a healthy target.
Pre-infusion is a low-pressure wetting phase at the start of the shot. It saturates the puck evenly before full pressure hits, reducing channeling and improving consistency. Many home machines offer it automatically; others trigger it manually.
If your shot tastes sour and thin, it's likely under-extracted. If it's harsh and drying, it's over-extracted. Adjust grind, then dose, then yield, one at a time.
How to Froth Milk Like a Barista
Frothing milk like a barista comes down to two phases: introducing air for texture, then spinning the milk to break large bubbles into microfoam. The result should look like wet paint, glossy and pourable, not stiff and foamy.
The steps:
- Fill a cold pitcher to just below the spout base
- Submerge the steam tip slightly and open the steam valve
- Lower the pitcher for 1-2 seconds to introduce air (the "chirp")
- Raise the pitcher to submerge the tip and create a rolling vortex
- Stop when the pitcher is warm to the touch, around 140-150°F
- Swirl and tap to knock out bubbles before pouring
Tasting Your Way to Café Quality Espresso
Café quality espresso is a balance of sweetness, acidity, and body, with no single defect dominating the cup. You can't dial in by numbers alone, taste is a skill you build.
Taste the same coffee three ways: under-extracted, on-target, and over-extracted. Under-extracted shots taste sour, salty, and thin; over-extracted shots taste bitter, ashy, and dry. The sweet spot sits between them.
Sensory Training for Beginners
Most guides skip sensory training entirely, which is a mistake. You can't fix what you can't taste.
A practical exercise: pull three shots from the same coffee, changing only the grind, one step finer each time. Taste each and write down three words per cup. Do this weekly for a month and you'll recognize the sour-to-bitter spectrum intuitively, cutting your dial-in time sharply.
Advanced Puck Prep and Basket Precision
Two upgrades separate good home espresso from great: better puck prep and a precision basket. This is where the biggest gains hide once your grind and ratio are dialed.
What Each Puck Prep Tool Actually Does
Puck prep tools aren't interchangeable, each solves a specific failure mode. Knowing which problem you're solving tells you whether a tool is worth buying for your setup.
- WDT (Weiss Distribution Technique) tool. A handle holding several thin needles (commonly 0.3-0.4 mm) that you stir through the coffee bed before tamping. It breaks up clumps created by the grinder and evens out density from top to bottom. The failure it fixes: channeling caused by clumped or unevenly distributed grounds. If your shots gush in one spot or taste inconsistent shot-to-shot with the same recipe, WDT is the highest-return fix.
- Leveling/distribution tool. A flat disc that sits on the basket rim and spins to level the bed before tamping. The failure it fixes: a tilted or uneven bed that causes one side of the puck to extract faster than the other. Note: a leveling tool is not a tamper, it levels, it doesn't compress.
- Puck screen. A thin metal mesh disc placed on top of the coffee bed before locking in the portafilter. The failure it fixes: two things, it keeps the shower screen cleaner (less coffee backflow into the group), and it spreads incoming water more evenly across the top of the puck. It does not replace a good grind or WDT; it's a refinement, not a rescue.
- Precision tamper. A tamper machined to match your basket diameter (e.g., 58.5 mm for a 58 mm basket) so the base sits flush with the walls. The failure it fixes: edge channeling, where a slightly undersized tamper leaves a ring of uncompressed coffee around the puck's perimeter.
None cost much individually, and together they reduce channeling noticeably. The order that works: grind → WDT → level → tamp → puck screen → lock in.
Why Basket Precision Changes Extraction
A precision basket is machined with consistent hole size, count, and pattern across the floor. A cheap stamped basket varies, some holes larger, some smaller, some partially blocked by stamping burrs.
That variation matters because water follows the path of least resistance. With inconsistent holes, more water flows through the larger openings, over-extracting those areas while under-extracting the rest. The result tastes simultaneously sour and bitter, muddy, with no clear flavor, no matter how good your grind and prep are.
A precision basket gives more uniform flow across the puck, so the whole bed extracts at roughly the same rate. That's what makes a shot repeatable: same recipe, same result, shot after shot.
Is a Precision Basket Worth It for You?
A precision basket is a worthwhile upgrade if:
- Your shots are inconsistent despite consistent dose, grind, and prep
- You're already using a burr grinder and a scale, and you've hit a ceiling on what technique alone can fix
- You're chasing lighter roasts, which are less forgiving of uneven extraction
It's a lower priority if:
- You're still using a blade grinder or a pressurized basket, fix those first
- Your machine's temperature stability is poor; a precision basket won't compensate for wild temperature swings
- You're happy with your current shots and don't want to re-dial your recipe (a new basket almost always requires re-dialing grind)
A common pattern: home baristas upgrade machine, then grinder, then basket, and only notice the basket's effect once the first two are sorted. If your grinder and machine are solid and shots still taste muddy, the basket is next.
Specialty Coffee Association guidance on espresso extraction and equipment standards
Common Mistakes to Avoid
A few mistakes derail more home espresso than anything else:
- Stale beans. Coffee past 6-8 weeks from roast tastes flat regardless of technique.
- Grinding too coarse. Most beginners under-extract because they're scared of choking the machine.
- Not weighing the output. Guessing yield is guessing your recipe.
- Skipping cleaning. Oils and residue build up fast and turn every shot bitter.
- Changing multiple variables at once. You'll never know what fixed it.
If you want to skip the learning curve entirely, a super-automatic machine can handle grind, dose, tamp, and extraction in one push, and an integrated milk cooling solution can keep textured milk at the right temperature through the whole session. For busy mornings, that's the difference between a ritual you keep and one you abandon.
Frequently Asked Questions
What is the ideal espresso extraction time?
Most espresso shots land between 25 and 30 seconds from the moment the pump starts to when you stop the shot. That window assumes a standard dose of 18 to 20 grams producing 36 to 40 grams of liquid. If your shot finishes in 20 seconds, the grind is likely too coarse, and the result will taste sour and thin. If it runs past 35 seconds, the grind is too fine, and you will get bitter, harsh flavors. Adjust the grind one small step at a time and keep the dose constant while you dial in.
Why does my home espresso taste sour or bitter?
Sour shots are under-extracted: the water moved through the puck too fast and did not pull enough sweetness from the coffee. Bitter shots are over-extracted: the water stayed too long and stripped out harsh compounds. Both problems usually trace back to grind size, though water temperature and dose play a role. If your espresso extraction ratio is correct at roughly 1:2 but the taste is off, tighten the grind for sour shots and loosen it for bitter ones, then taste again.
How much coffee grounds should I use for a double shot?
A standard double shot uses 18 to 20 grams of ground coffee in a 58mm basket, yielding 36 to 40 grams of espresso. That is the 1:2 espresso extraction ratio most cafés build their menus around. Lighter roasts often benefit from a slightly longer ratio, closer to 1:2.5, to balance acidity. Darker roasts tend to taste better at 1:1.5 to 1:2. Weigh your dose on a scale every time; volume scoops are not accurate enough for consistent shots.
Do I need a professional-grade machine to make café quality espresso?
You do not need a commercial machine, but you do need consistent temperature, stable pressure, and a burr grinder. A super-automatic machine with an integrated milk cooling system can offer café-level results with a simplified workflow, which matters if you are short on time in the morning. The grinder usually matters more than the machine. A $200 burr grinder paired with a mid-range espresso maker will outperform a high-end machine fed pre-ground coffee every time.
Pulling true café quality espresso at home is a skill, and like any skill it rewards consistency over gear. If you'd rather have the results without the daily dial-in, Modesto & Associates builds professional super-automatic machines and integrated milk cooling accessories designed to deliver café-standard drinks with one touch. Explore the Magic M2+ and see how simple a great morning shot can be.